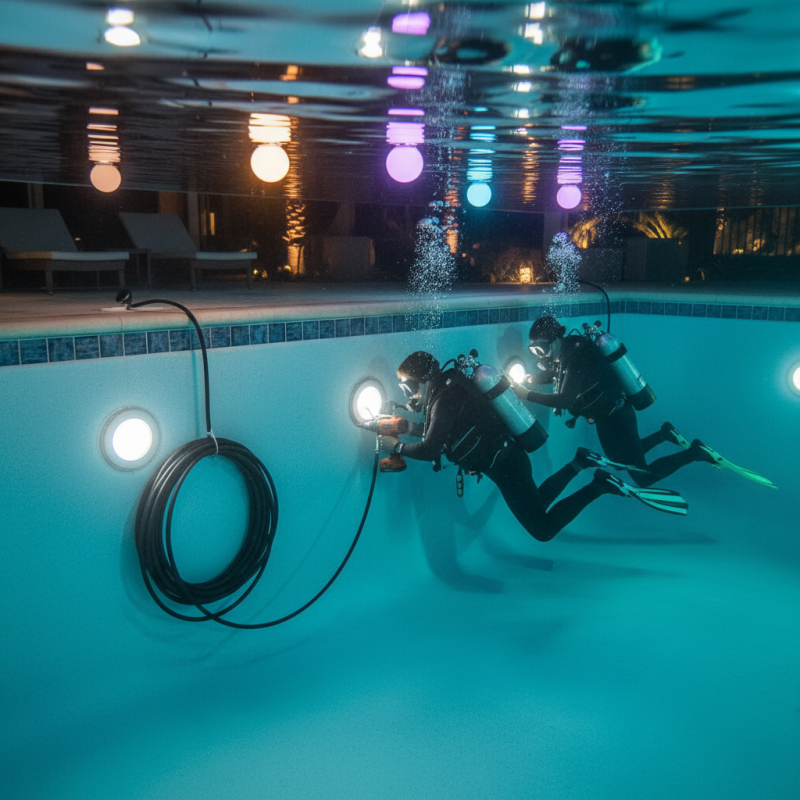
Transforming your existing pool into a dazzling nighttime oasis can be both exciting and challenging. As pool designer Mark Thompson states, "Proper lighting can completely change the ambiance of your space." When considering how to install underwater lights in an existing pool, it's essential to prioritize safety and aesthetics. This guide will explore the necessary steps and precautions needed for a successful installation.
While the task may seem daunting, equipping your pool with underwater lights can significantly enhance its appeal. First, assess your pool's structure to determine the best locations for the lights. Consider factors like power supply accessibility and potential water hazards. Experienced homeowners often overlook these details, leading to unsatisfactory results.
Moreover, proper equipment selection is crucial. Not all lights are suitable for every pool type. Consult experts and reviews to find reliable products. Testing light placements before committing is wise. Remember, a bit of trial and error is part of the learning curve in how to install underwater lights in an existing pool.
When selecting underwater lights for your pool, consider both functionality and aesthetics. LED lights are popular due to their energy efficiency and longevity. They provide bright illumination while consuming less electricity. Look for light fixtures that are rated for underwater use to ensure safety and durability.
Tip: Evaluate the brightness of lights. Each light should illuminate your entire pool without leaving dark areas. Be mindful of the color temperature, as it impacts the pool's look. Warmer tones create a relaxing atmosphere, while cooler tones feel more vibrant and energizing.
Consider the installation process. Lightweight fixtures are easier to install, but heavier ones often provide better stability. Both options need to withstand water pressure. Assess the local electrical codes to ensure compatibility. Sometimes, it requires professional help, especially if you're unsure about wiring.
Tip: Keep maintenance in mind. Choose lights that are easy to clean and replace if necessary. Test them regularly to avoid surprises. A dim light could indicate the need for a replacement. This is an area where attention to detail can save time and effort later.
Installing underwater lights in your pool can enhance its beauty and safety. Before starting, you need to gather specific tools and materials. This ensures a smooth installation process and helps you avoid potential issues.
Begin with safety equipment like gloves and goggles. These protect you during the process. You will also need tools such as a drill, screwdriver, and a wire stripper. It's essential to have a voltmeter to check the electrical connections. A waterproof sealant will help protect the fixtures from water damage. Gathering these items before you start saves time and reduces frustration.
Collecting the right materials is equally crucial. The lights themselves should be suitable for your pool type. You need cables rated for underwater use to withstand harsh conditions. Some pool owners overlook the importance of a proper transformer. It ensures your lights receive the correct voltage. Reflecting on your choices here can prevent future maintenance issues. If you're unsure about what you need, consulting a professional can provide clarity.
Installing underwater lights can enhance the beauty of your pool. It creates a magical atmosphere at night. To begin, gather your materials. You’ll need waterproof lights, a transformer, and tools like a drill and screwdriver.
Start by turning off the power to your pool. This step is crucial for safety. Next, mark the desired spots for the lights on the pool wall. Make sure to choose locations that will effectively illuminate the water. Drill holes carefully, ensuring not to damage any existing wiring. I once struggled with uneven drilling, which made the light installation more challenging.
Once the holes are ready, insert the lights and secure them. Connect the wiring according to the instructions, taking extra care with waterproofing. Test the lights before sealing everything. You may find that adjustments are necessary. Sometimes, the lights seem too bright or not bright enough. It’s all part of the learning process in DIY projects. Don’t rush; attention to detail is critical for a successful installation.
Installing underwater lights in your pool can enhance its beauty and safety. However, electrical safety is crucial during this process. Always turn off the power at the main circuit breaker before starting any installation. This reduces the risk of electric shock. Understanding the pool's electrical layout helps prevent accidents.
Using proper tools and equipment is essential. Wear rubber gloves and use insulated tools to minimize risks. The installation area should be dry. Ensure your underwater lights are compatible with your existing wiring. An electric current passing through water can be deadly. It’s vital to use fixtures that are rated for underwater use.
Lastly, improper installation can lead to electrical failures or even fires. Always check local codes and regulations for compliance. Seek help from a certified electrician if you're uncertain about the process. Rushing through the work can result in mistakes that may cost you later. Taking time to do it right is worth it for your safety and enjoyment.
Testing and maintaining your underwater pool lights is crucial to ensure safety and longevity. Start by regularly checking for any signs of wear or damage. This includes inspecting the wiring and seals. Look for cracks or signs of corrosion. Even small issues can lead to bigger problems down the line.
Next, it’s important to test the functionality of your lights. Turn them on and ensure they illuminate evenly. Flickering or dim lights may indicate a faulty ballast or connection. If you notice anything unusual, it’s advisable to consult a professional. Regular maintenance can prevent unexpected failures during your evening swims.
Lastly, consider cleaning the lens of your lights. Algae and debris can accumulate, dimming the brightness. Use a soft cloth and mild cleaning solution to gently wipe them. Avoid harsh chemicals; they can damage the finish. After maintenance, take a moment to reflect on your setup. Are there improvements you could make? Every small detail counts when it comes to safety and enjoyment.
: Look for energy-efficient LED lights. Ensure they are suitable for underwater use for safety.
Each light must illuminate the entire pool evenly. Avoid dark areas for a better experience.
Warmer tones provide relaxation, while cooler tones create vibrancy. Choose based on your desired atmosphere.
Lightweight fixtures are easier to install. Heavier ones may offer better stability but can be harder to handle.
Turn off the power to your pool to ensure safety. It’s a critical step to prevent accidents.
Choose lights that are easy to clean and replace. Regular testing can prevent unexpected failures later.
You'll need waterproof lights, a transformer, a drill, and a screwdriver to get started.
Mark spots on the pool wall for optimal illumination. Take time to consider the layout carefully.
Uneven drilling can complicate the process. It takes practice and attention to detail to improve this.
Test the lights before sealing everything. Adjustments are often needed; it’s part of the DIY journey.
Installing underwater lights in an existing pool can greatly enhance its ambiance and safety. To understand how to install underwater lights in an existing pool, start by choosing the right type of lights that suit your pool's design and your lighting needs. Next, gather all necessary tools and materials, including wiring and fixtures, for a smooth installation process.
Following a step-by-step guide, you can seamlessly integrate the lights into your pool, ensuring that you adhere to electrical safety precautions. After installation, it’s crucial to test the lights and maintain them regularly to ensure their longevity and performance. By following these outlined steps, you can successfully illuminate your pool and enjoy a visually stunning nighttime experience.