Outdoor lights can transform any space. However, they need protection from moisture. This is where knowing how to waterproof battery box for outdoor lights becomes crucial. A well-sealed battery box ensures longevity and optimal performance. Water damage can lead to short circuits and early failures.
You might think waterproofing is simple, but it often requires careful planning. Many people overlook the type of materials used. Some sealants and coatings aren’t effective against prolonged exposure to the elements. It’s important to choose products specifically designed for outdoor use. Remember, regular checks after installation can save you headaches later on.
Yet, mistakes happen. Sometimes, a box isn't sealed correctly. This mistake can expose batteries to rain or snow. Regular maintenance can help identify these issues. A proactive approach matters when ensuring your outdoor lighting system lasts. Proper waterproofing is not just a step; it’s a commitment to efficiency and safety.
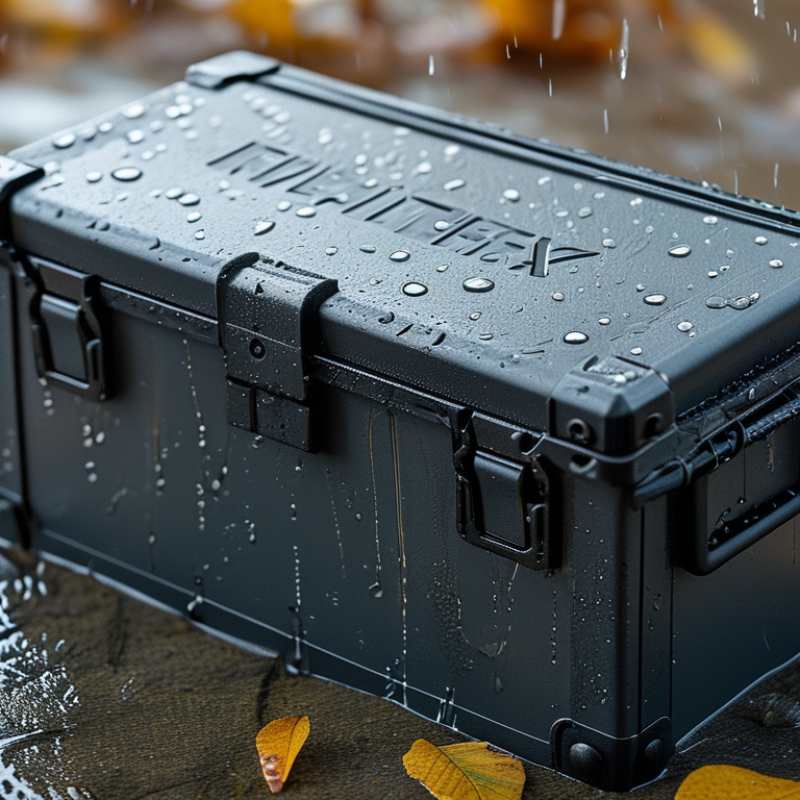
When selecting a battery box for outdoor use, durability is crucial. Look for materials that can withstand harsh weather conditions. Polypropylene and ABS plastics offer excellent resistance to heat and moisture. Additionally, you may want to consider the box's design. A sealed design helps prevent water intrusion, but you should also ensure that it allows for proper ventilation. This balance is essential to avoid overheating and prolong battery life.
Check the box's size and compatibility with your batteries. A snug fit prevents movement, which can cause damage over time. Pay attention to the ingress protection (IP) rating, as it indicates how well the box resists water and dust. An IP65 rating means it can withstand water splashes, while an IP67 rating offers complete waterproof protection. However, remember that no box is entirely foolproof. Regular inspection is crucial to ensure that wear and tear do not compromise your battery's safety.
In addition, think about the ease of access. While a secure seal is vital, the ability to change batteries quickly is also important. Striking this balance can be challenging. Poor accessibility may lead to frustration later on. Evaluate your specific needs carefully. Choosing the right battery box is not just about protection; it’s about considering the future too.
When considering waterproofing methods for battery boxes, it’s essential to understand the intricacies involved. One effective approach is to use silicone sealant. This material provides a solid barrier against moisture. Make sure to apply it around all edges and openings, as water often seeps in through these points. Another method is using waterproof enclosures designed specifically for battery storage. These boxes are built to withstand the elements, but ensure they have proper ventilation.
In addition, employing desiccants can help control humidity inside the box. They absorb excess moisture and prevent corrosion. However, it’s vital to check them regularly. If neglected, they may lose effectiveness over time. You may also want to consider a rubber gasket to enhance sealing. While this can add another layer of protection, incorrect installation can lead to leaks. Finding the right balance in waterproofing efforts can be tricky. The key is testing your methods over time, learning from each attempt.
| Waterproofing Method | Effectiveness | Cost | Ease of Use | Durability |
|---|---|---|---|---|
| Silicone Sealant | High | $10 - $20 | Moderate | 5+ Years |
| Epoxy Coating | Very High | $30 - $50 | Difficult | 10+ Years |
| Rubber Gasket | Moderate | $5 - $15 | Easy | 3-5 Years |
| Heat Shrink Tubing | High | $5 - $10 | Moderate | 5 Years |
| Waterproof Enclosure | Very High | $20 - $40 | Easy | 10+ Years |
Preparing a battery box for waterproofing is essential for outdoor lighting. The risk of water damage to batteries can lead to failures and costly replacements. According to industry reports, nearly 30% of outdoor electrical failures result from moisture exposure. Thus, a sound waterproofing treatment is vital.
Begin by selecting a sturdy, water-resistant battery box. Ensure all seals and closures fit tightly to prevent moisture ingress. Inspect the battery compartment for any gaps or cracks. Use silicone sealant to fill small openings. For larger areas, consider weatherproof gaskets. This preparation is crucial to maintaining battery longevity.
**Tip:** Regularly check the condition of the battery box, especially after storms. A proactive approach can save time and money.
Once the box is sealed, test it by placing a small amount of water around it. Wait for 24 hours, then check for any leaks. This simple test can reveal vulnerabilities you may have missed during initial preparation.
**Tip:** Document your waterproofing efforts. Keeping records can help identify what methods work best in different environments.
When it comes to protecting outdoor battery boxes, waterproof coatings and sealants play a vital role. Selecting a high-quality waterproof coating starts with understanding the materials of your battery box. Surface preparation is essential. Thoroughly clean the box to remove dirt and debris. This enhances adhesion and effectiveness.
Applying the waterproof sealant requires precision. Ensure an even application, focusing on seams and edges where water can seep through. Use a brush or roller for larger areas and a caulking gun for cracks. Pay attention to drying times; rushing can lead to incomplete sealing. Regular inspections of the sealant's integrity can help identify potential issues early.
It's not always a flawless outcome. Environmental factors can affect the longevity of coatings. Sometimes, bubbles or cracks appear within weeks. These flaws require immediate attention. It may be necessary to reapply the sealant annually in harsh environments. Regular maintenance is critical for prolonged protection. Learn from these experiences to improve your application techniques and material choices.
Testing and maintaining a waterproofed battery box for outdoor lights is crucial for long-term performance. According to the National Electrical Manufacturers Association (NEMA), outdoor electrical installations face severe environmental challenges. Moisture can lead to corrosion, reducing the lifespan of your battery box by up to 50%. Regular inspection is essential.
Start by checking for cracks or signs of wear. After heavy rain or snow, assess the sealing materials. Remember, even a small gap can allow moisture to enter. Using a multimeter, periodically test the battery voltage. If you notice a drop in performance, it may indicate water intrusion.
In a 2018 survey by the Outdoor Power Equipment Institute, over 60% of homeowners experienced issues with waterproofing. Addressing issues early can save you from costly replacements. You might want to conduct a water submersion test. Submerge the sealed box in water for a few hours, then check for leaks. This hands-on approach allows for improved reliability and confidence in your outdoor lighting setup. Regular follow-ups are key.
: Focus on durability, materials, and design for weather resistance.
Look for polypropylene or ABS plastics. They resist heat and moisture effectively.
A snug fit prevents battery movement, which can cause damage over time.
The IP rating shows how well a box resists water and dust.
Regular inspections are vital to prevent wear and ensure safety.
Silicone sealants create a strong moisture barrier around edges and openings.
Desiccants absorb humidity and prevent corrosion, but check them regularly.
Surface preparation is key. Clean the box thoroughly before application.
Bubbles and cracks can appear, requiring immediate repair or reapplication.
Easy access allows for quick battery changes, preventing frustration later on.
When considering how to waterproof a battery box for outdoor lights, it is essential to select the right battery box designed for outdoor conditions, ensuring durability and protection against the elements. Understanding various waterproofing methods, such as using coatings and sealants, is crucial to achieve effective protection.
Preparation plays a key role in the waterproofing process. This involves cleaning and treating the box surface to ensure that the waterproofing agents adhere properly. Once the preparation is complete, applying waterproof coatings and sealants can be done effectively, creating a robust barrier against moisture. Finally, testing the waterproofed battery box regularly and maintaining it will ensure long-lasting protection and functionality, safeguarding your outdoor lighting setup.
